Sunday, March 4, 2012

What is a ball?

I asked the children to share something they know about BALLS. This garnered some interesting, as well as predictable, responses! "Circle", "soccer", "throw it", "basketball", "football", "bounce it", "roll it", and so on. Then came the question: "When is a ball not a ball?" Answer: "when it's a football!" Looking at a circle - in this case a plate - shows that to describe a ball as a circle is only partly right. It's a circle no matter which way you look at it. A ball has properties other shapes do not - this we could test by playing with a variety of balls of all sizes and materials. Sports balls made a good discussion starter because each sport has different rules of play, which are partly dictated by what kind of ball is being used. There is a huge difference between a ping pong ball, a basketball and a volleyball. Each of these is driven in  different way - with a bat, with hands or with wrists, yet they are the same shape. A football though is thrown and kicked but it's shape makes the trajectory very unpredictable - unless you are a football player!


Playing with all the different balls was the best way to illustrate the variety out there!

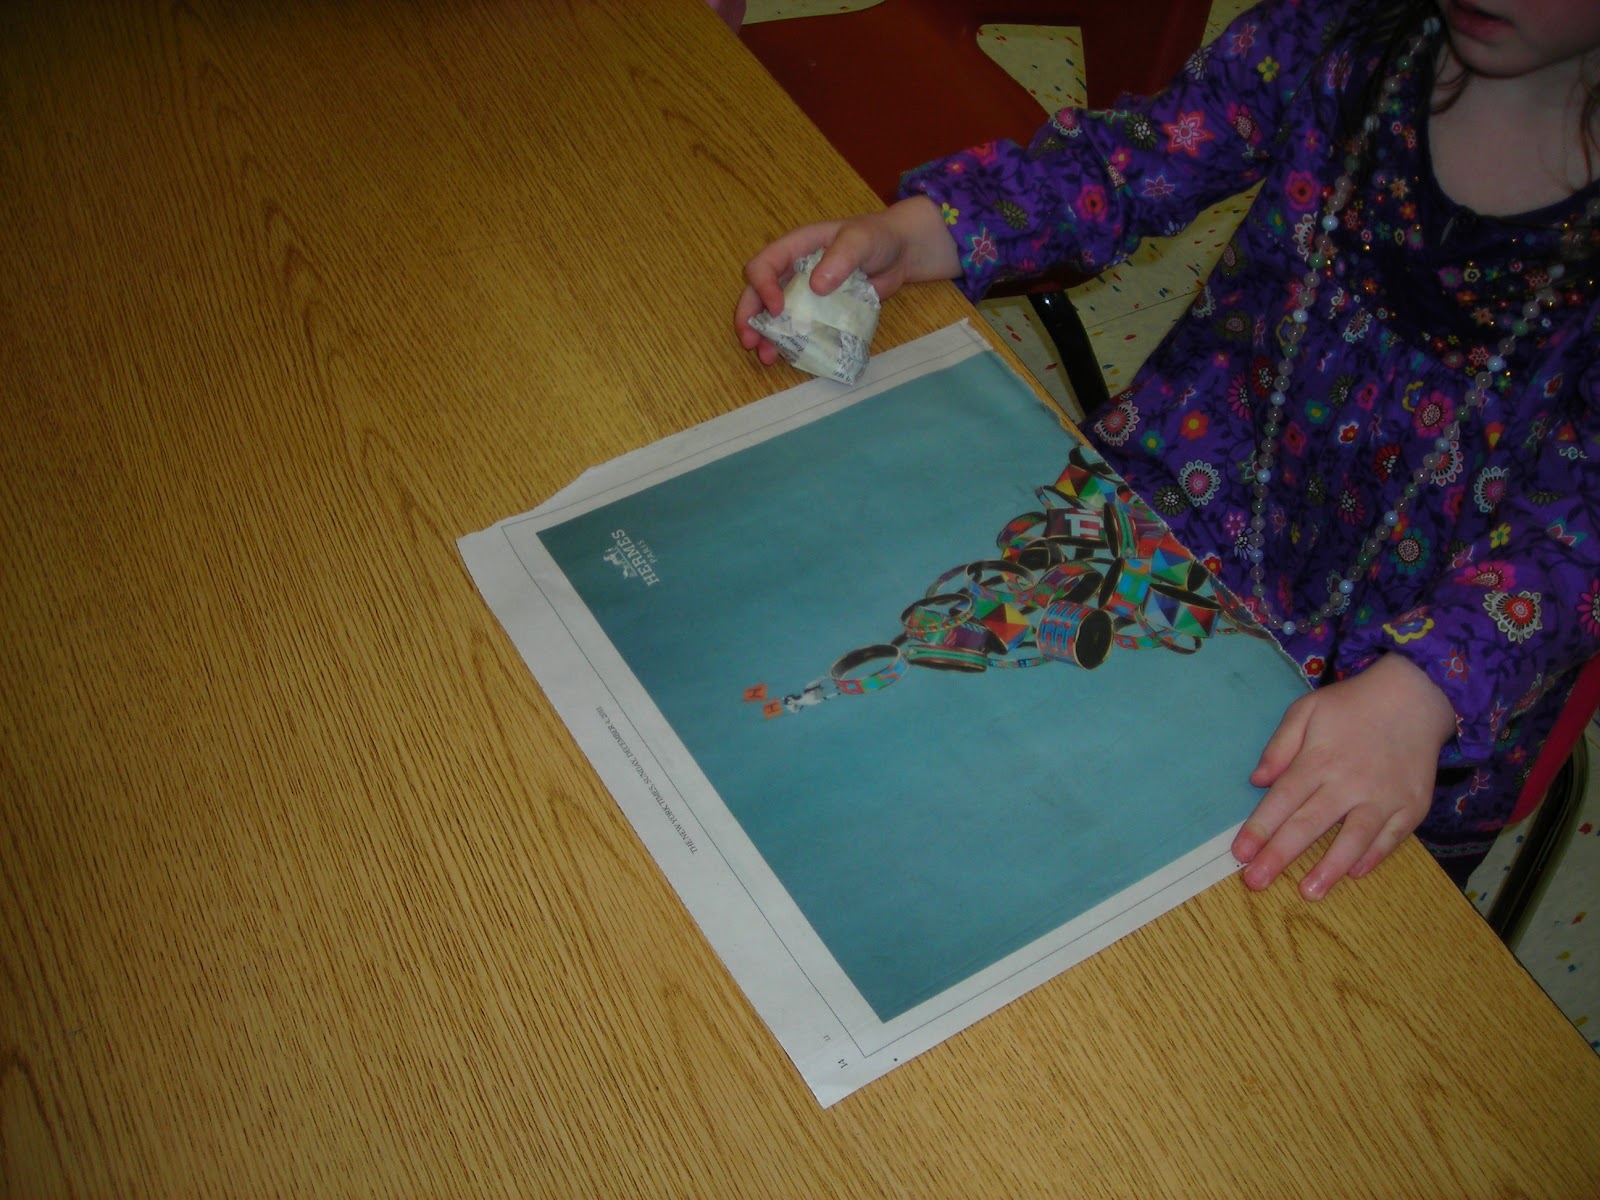
The following week the children were given a sheet of newspaper and asked how you would make it into a ball. First we ascertained it did not behave like a ball - no bouncing or rolling. How to do it? Well before long the children had scrunched it up - it was instinctive for many of them - they did it before they could verbalise what the procedure was.
from flat paper to a ball

Making the perfect ball


left on its own, the paper would attempt to regain it's flatness so I had the children suggest how we could keep the ball shape. "Glue", "tape", "string", were offered and we settled on taping. Now this behaved like a ball although nothing had been aded to the sheet of paper - only the SHAPE had been altered. We bounced and rolled for a while, then made a ball out of clay to compare. Clay stays in the molded shape and can be made smooth so is a better ball in many ways.
comparing paper and clay balls

Finally we used our paper balls to knock down some empty soda bottle 'skittles' - we did pretty well there!

As an extra brainteaser I asked the question: "Can you make a circle out of toothpicks or straws?" The unanimous answer was "No!" but some children were able to say WHY. They conveyed the fact that the picks/straws were not 'bendy', using their hands to explain this if they couldn't come up with the right words. Well, as long as the circle is BIG enough, then the answer became "Yes we can!"

making a circle out of straight lines

Friday, December 30, 2011

Information technology made easy

Almost from birth, kids are exposed, and expert, in manipulating digital information Two year-olds can use a touch screen better than me. So, I had a 'blast from the past' with the information technology  I grew up with, eventually graduating to the kinds of interfaces they will feel at home with. First of all:

33rpm vinyl LP on a record player
I found this old player on its way to the junkyard - and it works! Totally mechanical which is great for understanding as well.  I told the classes that I had no TV until I was 8 - stunned silence. The only way to get news or stories or music was with a radio. They all associated a radio with music, not with stories or news, and of course unless you listen to NPR or the two news stations, that's all you hear today. The idea that it all starts with electricity was clear when we tried to get the radio to work - some of the kids knew there had to be power and guessed batteries or plugs correctly. How the radio worked was less easy to understand so I settled for letting them imagine all the programs playing in the air but that we cannot hear them, like some animals can hear or smell things that we cannot. Powering up the radio enabled the signals to get 'decoded' for our ears. We played and danced to some music on different types of station - jazz, techno, classic rock and classical. Then I described how to listen to music you selected in a time when Pandora was just a character in a myth. Good old vinyl!

Only one child in the whole school recognized an LP, but a number of them must have seen a record player in operation because they knew where to put the record on the player, and that it rotated. The 'arm' with its needle underneath was more of a mystery, but when the music emerged they were at once surprised and delighted - more so than if I had put a CD on. The record was "Walk Like An Animal" and they immediately began to obey the directions as we went through inchworms, dogs, chickens and so on. I followed with Jackie Torrance reading some fairy tales and they were spellbound by 'Little Red Riding Hood', insisting on hearing the whole story. It was unusual for them to listen without some kind of video input and the 4 year-olds did brilliantly, the 3's less so but mostly they still listened.
45 rpm, The Clancy brothers and Tommy Makem  
We also listened to a 45 rpm, smaller and needing a faster rotation to sound normal.
Moving on, most of the children mis-identified a CD as a DVD. I showed them the more intense 'rainbow effect' of the DVD since it has to hold far more information. We then listened to a Zoo animals CD and brainstormed about how the sound was stored here versus the vinyl record. The rainbow effect clued a few of them in about the role of light in 'reading' the CD sounds.

Playing a CD
They saw that both items were circular, flat and rotated on their players, that they were light and easy to move, but fragile and easily scratched. Next time we will move on to video information, although they were clamoring for more Jackie Torrance as well. Haul out those LPs, parents and grandparents, your little ones have a new appreciation of them!

Friday, December 9, 2011

Worm cake, anyone?

We were inspired by reading 'Max's Worm Cake' by Rosemary Wells, to make our own cake - no, not an edible one (old hat) but exactly like Max's in the book, using real dirt and worms and pebbles to decorate it.

worm cake and candles
 We talked about dirt last time when worms were on the menu (so to speak), but here we get a chance to handle it, observe some of its properties and - of course - squish and squinch it in our hands! The feeling of mud gave everyone a chance to come up with a word to describe the sensation - not just "EEUUUWW".  One child described worms as "squirdling through the mud". Wow!! What a terrific new word!

First we compared dirt and sand - it's makeup, where it's found, how it feels before and after adding water. It is easier to mold when wet, and we noticed that sand had larger particles so the mud felt 'smoother'.

comparing sand (L) and dirt (R)


handling sand


sand cake! with candle!

It was tricky to add the right amount of water to the mud - depends on how fine the particles were. Too much and you got sludge, too little and it looked dry - just like adding water to flour mix when making pastry. No-one seemed to mind putting their hands into the mix eventually, it was a lot more effective than a craft stick!

mixing water into the dirt


oops! too much water!

permission to get my hands muddy!

 I had colored starch packing 'noodles' for candles - interestingly the children observed that the noodles disintegrated ("melted") in the mud as the starch dissolved - not something you would see with a polystyrene 'noodle'.

Finally - the finished cake! A masterpiece only a worm could love!

want a slice?
As a completely different chemical process, we compared the mud with so-called 'clean mud' - made by mixing a grated Dove soap bar with torn-up pieces of a toilet paper roll,  and adding a cup of warm water to mix. The children were more interested in tearing up the paper and grating the soap than in the finished 'mud',  AND - they really didn't like the feel of it at all. More children were willing to plunge their hands in  real mud than in this stuff, maybe because the texture was kind of slimy.


making 'clean mud'

OK but we prefer the real thing, worms and all! 
That's it for Rocks and Minerals, folks! Next stop - Information Technology!

Friday, December 2, 2011

What's in the dirt? Worms!

This is such a simple and fascinating lesson - and all you need is a bucket of dirt from the garden and some magnifying glasses! It's an extension of our Rocks and Minerals theme as well.

plate o' dirt. spot the worm!

Each child got a plate of dirt (I made sure there was a worm hidden in there first) and we talked about what 'dirt' was. A few children told me is was 'rocks' because there were some small rocks in their sample. Others had leaves and sticks and roots so I could explain how all these things got scrunched up and turned into soil. I also told them there were dead bugs in there which was good for the soil and plants.

Then they got to poke around some more and - hey presto - they found worms. This was accompanied by shrieks of delight and "Eeeuuuuw!" Now the best part - touching them! At first a lot of the children were horrified at the thought but there were always some kids who loved this, and they would inspire the others. I only got 2 or 3 children out of 200 who refused to hold them in their hands.

tickly!


look! two worms!
 They were pleasantly surprised to find that the worms felt tickly, not slimy, AND that they moved relatively slowly. Lively bugs are much more difficult to get used to. The children could use the magnifying glasses to study their worms but the major interest from their perspective was having them in their hands.
Placing some worms on a clean plate enabled us to study how they moved better. I got the children to 'wriggle like a worm' on the floor.

wriggle like a worm

worms reacting to water - not happy!

Now we added a drop or two of water to the worms - this got the whole crew of them to make a break for it! It was fun to watch because they have no vision apart from light/dark so they just kept on truckin' until they were out of the area - and many of them ended up crawling off the plate like spokes in a wheel. They dangle off the edge, feeling around for a surface, some retract but some go too far and fall off which the children found hysterically funny. Flashlights made the worms move away as well but cheerios were more interesting. The children got to guess at the reasons worms don't like water or light, and how they eat.

Finally, we made a big pile of dirt and dumped all the worms on top - within minutes they had disappeared as they ate their way inside the pile to escape the light and to stay moist so they can breathe (through their skin). The class had considered a lot of things about worm physiology and behavior during the processes, and it made total sense to them because they had seen and touched and watched the worms in action!

'Wonderful Worms' by Linda Glaser is a terrific book about these critters, and I had a bunch of others available for the children to browse though.

reading about worms

More books about garden critturs help reinforce the fact that our gardens hide a wealth of life we never  see.

Tuesday, November 22, 2011

Treasure Hunt

Treasure! Now that's rocks with bling!
studying our gems and gold


What IS treasure? I used the 'I Spy Treasure Hunt' book by  Jean Marzollo and Walter Wick to introduce the idea of treasure. They love the game of finding the objects in the pictures - I used the Antiques Shop page and introduced the idea of maps (and, inevitably, pirates!), and clues, by using the old map and comparing it with the photograph of the same place many years later.  You have to be careful with the whole pirates thing because of course they were really violent thieves, not just Robin Hood in a boat. Still, we pretended we would be searching for hidden treasure to return to the owners!

Gold and jewels are of course rocks with value and belong in a treasure chest! I have one from my son's experience at 4 or 5, going on a sail with his best friend and landing at a beach where his friend's Mom and Dad had hidden a chest complete with map and - a Black Spot! They had read Treasure Island (the Real one!!) by R.L Stevenson so it was such a thrill! The black spot made it's rounds among his friends for years and years (I still expect it to turn up).
  I loaded the chest with toy gold coins and jewels and hid it in the classroom. Were they thrilled when it was found!!

Oohs and Aaahs when the chest is opened!

Making a 'Treasure Island' in the classroom was another route to finding treasure. Using a rug as the basic island, the children placed trees, volcanoes and rocks all around and then had to find individual treasure items hidden there - under the volcano, or under a rock, before hunting for the whole chest.

lifting a rock to find a gold coin!
As you can see, we added animals as well to make the island more authentic. Watch out for that wild boar!  And the Barbary Apes and poisonous snakes making our quest ever more dangerous!!!

The jewels and coins were much admired and compared and, of course, coveted but luckily there was plenty to go around.

Friday, November 4, 2011

Rocks for all ages

My classroom globe wears many hats, but this week it showed the children it's true identity - a chunk of rock!
my collections table
They all love volcanoes, and many know about lava, but comparing the earth to an undercooked muffin seemed to work best since for the past week or two, the classes seemed to be vying for the best pumpkin muffin recipe to make and eat. Our planet is like a muffin where the top (CRUST) is set and cooled but the inside is still hot and runny, like magma that erupts from a volcano.

I had the classes pick out, without looking, an object from a 'mystery box', and tell us what they guessed it was from the TEXTURE ('feel'). I had pompoms, rubber balls, lego bricks, feathers and other stuff among a variety of rocks, and the idea that they could identify each object without looking was, for some of them, quite a revelation. This encouraged them to search for vocabulary that best described what the objects felt like - soft, squishy, smooth, tickly, bumpy, scratchy, cold. I then got the 4's and some of the 3's, to just look at the items and use words to describe them, as if to a friend wearing a blindfold, or someone at night. You could almost see their brains trying to find the right words, a terrific way to exercise those neurons!

We then sorted the rocks into families. The concept of 'same' and 'different', is present in the 4s but only some of the 3s, and since these rocks were different shapes and sizes and colors it was quite a challenge. Still, if you put a rock down and asked them to search for one that looked 'like' that one, most of them found they could do it. Asked how they could study the rocks better, some children suggested magnifying glasses - fantastic idea!!


Classification began with sorting according to size:

size families

Color:

color families

and texture:

texture families

Of course the real way to do this is density, but I wasn't going there although I could have weighed some of them. Maybe I will next time.

The final part of the lesson was a rock hunt in the classroom. I had hidden, under plates, a rock for each child to find, they LOVE any kind of hunt. You can get them to find more than one if you have time of course. They then had to see if one of their friends had a similar rock, or to pick a similar one out of the collection box (each rock I hid had a family member also hidden, or in the box)

I have a bunch of rock books on display for the children to look at, here they are:


The titles are: Geology Rocks, by Cindy Blobaum and Michael Kline
Rocks. Hard, Smooth, Soft and Amazing (Amazing Science), by Rosinsky et al
If you find a Rock, by Peggy Christian
Let's go Rock Collecting, by Roma Gans.

See you next week for a treasure hunt! Now THAT'S rocks we can all relate to!!

Tuesday, November 1, 2011

Sharing our planet with living and non-living neighbors

Reminding the children about sharing resources with other people leads to discussing sharing those same resources with the myriad other life forms on earth, most of which pre-date and outnumber us! I also wanted to introduce rocks and minerals, so why not distinguish between living things (plants and animals), and non-living things (rocks, minerals, water etc).
I put a bunch of different toy plants (play food, plastic flowers), toy animals and bugs, shells, rocks and minerals into a brown bag and each child blind-selected 2 items. We identified each item and categorized it as plant or animal (living) or non-living (never alive rather than dead, extinct etc). I got a wealth of tales about grandparents dying when we approached the 'once alive' area, some of which were really touching and interesting I must say, and initially sidetracked me for a large part of the lesson! Anyway I deflected further family history and got down to dividing the items on 3 large trays - Animal, Plant and Non-Living. Basically, living things grow and reproduce and non-living things do not. It's not an easy concept for 3s and 4s and I slipped in a tricky one - a unicorn (doesn't exist) and a shell (you try to guess that one!!).

Hmm. apples are, um, oh - plants!!

animal, vegetable or mineral?

 Where do we humans put ourselves?


Somehow this picture refuses to stand up but you get the idea - yes, we are all animals!

Balancing ecosystems is delicate and removing one item can bring them tumbling if we don't look at their interrelationships - let's illustrate this with a balancing game they can take turns at. Who can remove one item without tipping the pile?

ecosystem balancing game


getting that rock out was hard!
 Man-made disasters like an oil spill or rainforest logging (Fern Gully, the last rainforest) were mentioned and we brainstormed ways we could help prevent more of the same in the future. Books like 'Oil Spill!' by Melvin Berger are also food for thought and offer possible ways we can help.