Sunday, March 4, 2012

Playing with our food - NOT!

Actually that's exactly what we DID do this week, the opposite of accepted food behavior. We had strict instructions to PLAY with our food but NOT TO EAT IT. We made fantastic food art out of the skins, seeds, flesh and dyes of a load of different fruits and vegetables.

food art cornucopia
this was my favorite

the artist at work
The children both knew, and learned, about loads of common and uncommon food available to us now. Kudos to the families that offer kiwis, avocados and mushrooms to their families, I was amazed at what they knew about these foods even if they didn't like them. We studied the structure of fruit vs. veggies, including the confusing tomato which is really both, and the strawberry which wears its seeds on the outside. We squeezed red dye out of red chard, orange color out of carrots and purple out of blueberry skins. Then we painted with it! Everything got peeled and dissected and generally smushed around in order to get a sense of the many different materials forming our plant food.
ordinary and exotic foods to dissect

Milk and eggs, cheese and butter followed but I was not going to bring meat or fish into the classroom. We made do with illustrations for those. Quite a few children had been fishing actually and some had even eaten the catch! What a treat as well as a unique learning experience.
I hope the children identify some different foods the next time they visit the supermarket with parents, they will be impressed! The best food lesson we can give is to visit a working farm and have them pick and eat the stuff right from the plant - organic farms mean you can do just that!

Foodknow-how - no it doesn't grow in the supermarket!

Where does our food come from? That is the main concern of the next 4 weeks in our classroom.

We 'shopped' for play food and sorted our groceries into food groups. Fruit, vegetables, meat, fish, dairy, bread/grains. For each group I asked where the food came from. Overcoming the notion that it all miraculously grew in the supermarket took some doing! Even children who recalled visiting a farm or market didn't realise that that was where the food was grown, and that the supermarket selects stuff from the farm to be delivered. Orchards, where many children had picked fruit, seasonal farmstands and farms  where they got their pumpkins and vegetables, somehow these occasional and infrequent visits to the food source, had not been connected to the store where Mom and Dad took them for supplies. Animals were another dark area- chicken, steak and burgers got rave reviews on the menu, as did cheese, milk, eggs and butter,  but the idea that they were connected to real animals at all hadn't got to the front line! I guess eating animals can be an awkward fact to convey given the conflicting lessons in kindness to animals, never mind pets, but most of the children didn't seem appalled by the idea, just surprised. I didn't push it too much however and we moved on to grains, and how plants go to a mill and get scrunched to make flour. Better to restrict our explorations to stuff that can be picked or plucked!!

We made pretend 'meals' out of the 'food', and they all know what a healthy meal is, that's for sure! What a lot of veggie-lovers in this generation, it's great!

Snowdays are anydays

We had our first winter snowfall here in New York, so I thought it was a good time to talk about, and play with, both real snow and a  popular polymer substitute, 'Insta-snow'.

Insta-snow powder  

Each child got a cup of real snow and we talked about how it looked and felt - no tasting allowed! "Cold", "wet", "white", "clumps", "melts", were among the observations made.

Adding red food color to the snow showed interesting effects - how it spread to all the particles and made colored water.


pink snowballs!


We then added WARM water to the insta-snow powder, which felt gritty at first, then EXPLODED as each particle absorbed 300x its own weight of water. This was a huge "Oooh!" moment, and plunging a hand into the 'snow' was a mindblower because it was of course warm, as well as feeling soft and slippery. Caution: spilling this on the floor makes for a slippery surface - watch out! Now we could add red food color to our insta-snow and compare the effects to the real stuff. You have to squeeze to make the color spread here, otherwise it remains inside the polymer particle.

comparing real snow with insta-snow
squeezing the color out of the polymer
many shades of red


Hours of fun followed as the children made fantastical sculptures, mixing the two different snows and generally having a creative blast!
good hands-on fun!

What is a ball?

I asked the children to share something they know about BALLS. This garnered some interesting, as well as predictable, responses! "Circle", "soccer", "throw it", "basketball", "football", "bounce it", "roll it", and so on. Then came the question: "When is a ball not a ball?" Answer: "when it's a football!" Looking at a circle - in this case a plate - shows that to describe a ball as a circle is only partly right. It's a circle no matter which way you look at it. A ball has properties other shapes do not - this we could test by playing with a variety of balls of all sizes and materials. Sports balls made a good discussion starter because each sport has different rules of play, which are partly dictated by what kind of ball is being used. There is a huge difference between a ping pong ball, a basketball and a volleyball. Each of these is driven in  different way - with a bat, with hands or with wrists, yet they are the same shape. A football though is thrown and kicked but it's shape makes the trajectory very unpredictable - unless you are a football player!


Playing with all the different balls was the best way to illustrate the variety out there!

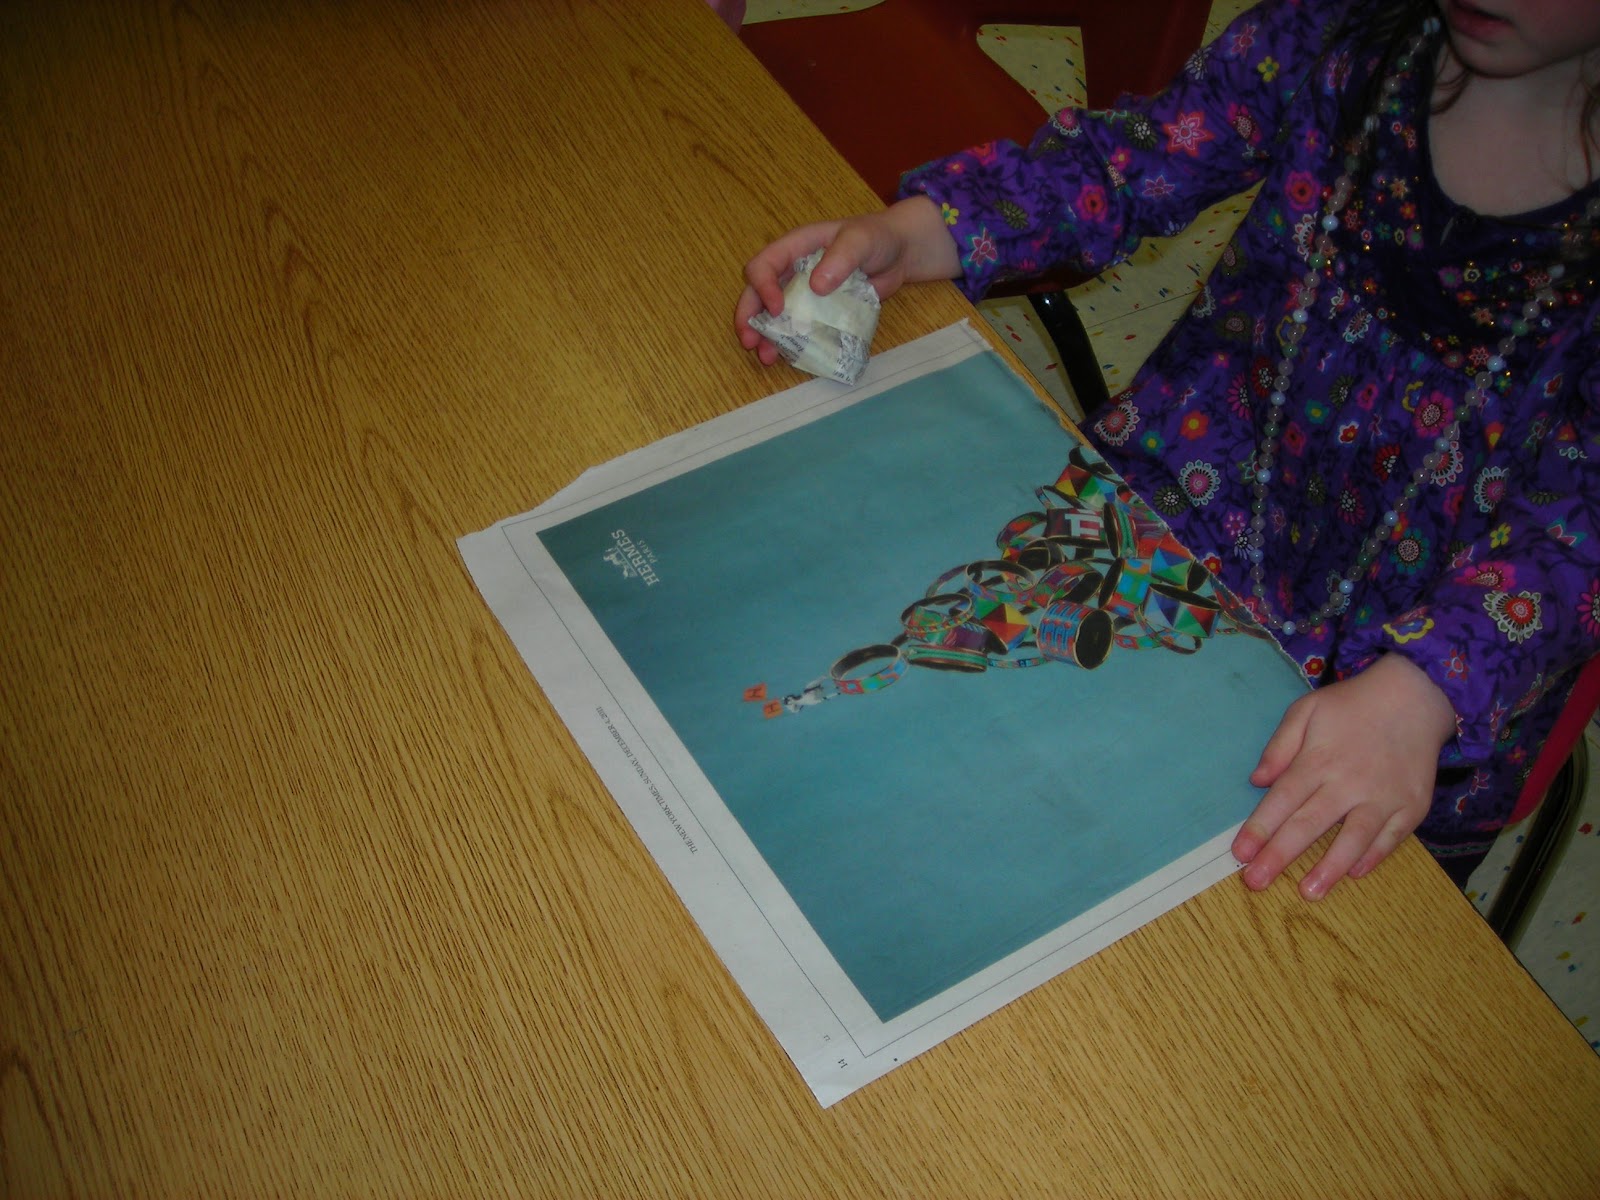
The following week the children were given a sheet of newspaper and asked how you would make it into a ball. First we ascertained it did not behave like a ball - no bouncing or rolling. How to do it? Well before long the children had scrunched it up - it was instinctive for many of them - they did it before they could verbalise what the procedure was.
from flat paper to a ball

Making the perfect ball


left on its own, the paper would attempt to regain it's flatness so I had the children suggest how we could keep the ball shape. "Glue", "tape", "string", were offered and we settled on taping. Now this behaved like a ball although nothing had been aded to the sheet of paper - only the SHAPE had been altered. We bounced and rolled for a while, then made a ball out of clay to compare. Clay stays in the molded shape and can be made smooth so is a better ball in many ways.
comparing paper and clay balls

Finally we used our paper balls to knock down some empty soda bottle 'skittles' - we did pretty well there!

As an extra brainteaser I asked the question: "Can you make a circle out of toothpicks or straws?" The unanimous answer was "No!" but some children were able to say WHY. They conveyed the fact that the picks/straws were not 'bendy', using their hands to explain this if they couldn't come up with the right words. Well, as long as the circle is BIG enough, then the answer became "Yes we can!"

making a circle out of straight lines

Friday, December 30, 2011

Information technology made easy

Almost from birth, kids are exposed, and expert, in manipulating digital information Two year-olds can use a touch screen better than me. So, I had a 'blast from the past' with the information technology  I grew up with, eventually graduating to the kinds of interfaces they will feel at home with. First of all:

33rpm vinyl LP on a record player
I found this old player on its way to the junkyard - and it works! Totally mechanical which is great for understanding as well.  I told the classes that I had no TV until I was 8 - stunned silence. The only way to get news or stories or music was with a radio. They all associated a radio with music, not with stories or news, and of course unless you listen to NPR or the two news stations, that's all you hear today. The idea that it all starts with electricity was clear when we tried to get the radio to work - some of the kids knew there had to be power and guessed batteries or plugs correctly. How the radio worked was less easy to understand so I settled for letting them imagine all the programs playing in the air but that we cannot hear them, like some animals can hear or smell things that we cannot. Powering up the radio enabled the signals to get 'decoded' for our ears. We played and danced to some music on different types of station - jazz, techno, classic rock and classical. Then I described how to listen to music you selected in a time when Pandora was just a character in a myth. Good old vinyl!

Only one child in the whole school recognized an LP, but a number of them must have seen a record player in operation because they knew where to put the record on the player, and that it rotated. The 'arm' with its needle underneath was more of a mystery, but when the music emerged they were at once surprised and delighted - more so than if I had put a CD on. The record was "Walk Like An Animal" and they immediately began to obey the directions as we went through inchworms, dogs, chickens and so on. I followed with Jackie Torrance reading some fairy tales and they were spellbound by 'Little Red Riding Hood', insisting on hearing the whole story. It was unusual for them to listen without some kind of video input and the 4 year-olds did brilliantly, the 3's less so but mostly they still listened.
45 rpm, The Clancy brothers and Tommy Makem  
We also listened to a 45 rpm, smaller and needing a faster rotation to sound normal.
Moving on, most of the children mis-identified a CD as a DVD. I showed them the more intense 'rainbow effect' of the DVD since it has to hold far more information. We then listened to a Zoo animals CD and brainstormed about how the sound was stored here versus the vinyl record. The rainbow effect clued a few of them in about the role of light in 'reading' the CD sounds.

Playing a CD
They saw that both items were circular, flat and rotated on their players, that they were light and easy to move, but fragile and easily scratched. Next time we will move on to video information, although they were clamoring for more Jackie Torrance as well. Haul out those LPs, parents and grandparents, your little ones have a new appreciation of them!

Friday, December 9, 2011

Worm cake, anyone?

We were inspired by reading 'Max's Worm Cake' by Rosemary Wells, to make our own cake - no, not an edible one (old hat) but exactly like Max's in the book, using real dirt and worms and pebbles to decorate it.

worm cake and candles
 We talked about dirt last time when worms were on the menu (so to speak), but here we get a chance to handle it, observe some of its properties and - of course - squish and squinch it in our hands! The feeling of mud gave everyone a chance to come up with a word to describe the sensation - not just "EEUUUWW".  One child described worms as "squirdling through the mud". Wow!! What a terrific new word!

First we compared dirt and sand - it's makeup, where it's found, how it feels before and after adding water. It is easier to mold when wet, and we noticed that sand had larger particles so the mud felt 'smoother'.

comparing sand (L) and dirt (R)


handling sand


sand cake! with candle!

It was tricky to add the right amount of water to the mud - depends on how fine the particles were. Too much and you got sludge, too little and it looked dry - just like adding water to flour mix when making pastry. No-one seemed to mind putting their hands into the mix eventually, it was a lot more effective than a craft stick!

mixing water into the dirt


oops! too much water!

permission to get my hands muddy!

 I had colored starch packing 'noodles' for candles - interestingly the children observed that the noodles disintegrated ("melted") in the mud as the starch dissolved - not something you would see with a polystyrene 'noodle'.

Finally - the finished cake! A masterpiece only a worm could love!

want a slice?
As a completely different chemical process, we compared the mud with so-called 'clean mud' - made by mixing a grated Dove soap bar with torn-up pieces of a toilet paper roll,  and adding a cup of warm water to mix. The children were more interested in tearing up the paper and grating the soap than in the finished 'mud',  AND - they really didn't like the feel of it at all. More children were willing to plunge their hands in  real mud than in this stuff, maybe because the texture was kind of slimy.


making 'clean mud'

OK but we prefer the real thing, worms and all! 
That's it for Rocks and Minerals, folks! Next stop - Information Technology!

Friday, December 2, 2011

What's in the dirt? Worms!

This is such a simple and fascinating lesson - and all you need is a bucket of dirt from the garden and some magnifying glasses! It's an extension of our Rocks and Minerals theme as well.

plate o' dirt. spot the worm!

Each child got a plate of dirt (I made sure there was a worm hidden in there first) and we talked about what 'dirt' was. A few children told me is was 'rocks' because there were some small rocks in their sample. Others had leaves and sticks and roots so I could explain how all these things got scrunched up and turned into soil. I also told them there were dead bugs in there which was good for the soil and plants.

Then they got to poke around some more and - hey presto - they found worms. This was accompanied by shrieks of delight and "Eeeuuuuw!" Now the best part - touching them! At first a lot of the children were horrified at the thought but there were always some kids who loved this, and they would inspire the others. I only got 2 or 3 children out of 200 who refused to hold them in their hands.

tickly!


look! two worms!
 They were pleasantly surprised to find that the worms felt tickly, not slimy, AND that they moved relatively slowly. Lively bugs are much more difficult to get used to. The children could use the magnifying glasses to study their worms but the major interest from their perspective was having them in their hands.
Placing some worms on a clean plate enabled us to study how they moved better. I got the children to 'wriggle like a worm' on the floor.

wriggle like a worm

worms reacting to water - not happy!

Now we added a drop or two of water to the worms - this got the whole crew of them to make a break for it! It was fun to watch because they have no vision apart from light/dark so they just kept on truckin' until they were out of the area - and many of them ended up crawling off the plate like spokes in a wheel. They dangle off the edge, feeling around for a surface, some retract but some go too far and fall off which the children found hysterically funny. Flashlights made the worms move away as well but cheerios were more interesting. The children got to guess at the reasons worms don't like water or light, and how they eat.

Finally, we made a big pile of dirt and dumped all the worms on top - within minutes they had disappeared as they ate their way inside the pile to escape the light and to stay moist so they can breathe (through their skin). The class had considered a lot of things about worm physiology and behavior during the processes, and it made total sense to them because they had seen and touched and watched the worms in action!

'Wonderful Worms' by Linda Glaser is a terrific book about these critters, and I had a bunch of others available for the children to browse though.

reading about worms

More books about garden critturs help reinforce the fact that our gardens hide a wealth of life we never  see.